EZQuest DVD Duplication User Manual
Browse online or download User Manual for Optical disc drives EZQuest DVD Duplication. EZQuest DVD Duplication User's Manual
- Page / 55
- Table of contents
- TROUBLESHOOTING
- BOOKMARKS
- EZQuest Duplicators 1
- Copyright and Trademark 2
- Buttons and LCD 3
- Detect Drives 4
- Chapter 5 Functions 5
- 5.2 Test 6
- 5.3 Test & Copy 7
- 5.4 Verify 8
- 5.5 Compare 9
- 5.6 Prescan 10
- 5.7 Disc Info 11
- 5.8 Select Source 12
- 5.9 Image 13
- show the message as follows 17
- 5.11 Setup 30
- Page 31 31
- 5.12 Adv Setup 39
- Troubleshooting 47
- 6.4 About Buttons 48
- 6.6 About High Failure Rate 48
- 6.7 About Firmware Update 48
- 11.15 Quick Erase 51
- 12 Adv Setup 51
- Appendix 2 LCD Messages 52
- 2. Connecting with a HDD: 53
- 3. Audio Editing: 54
- 4. Firmware Update: 54
Summary of Contents
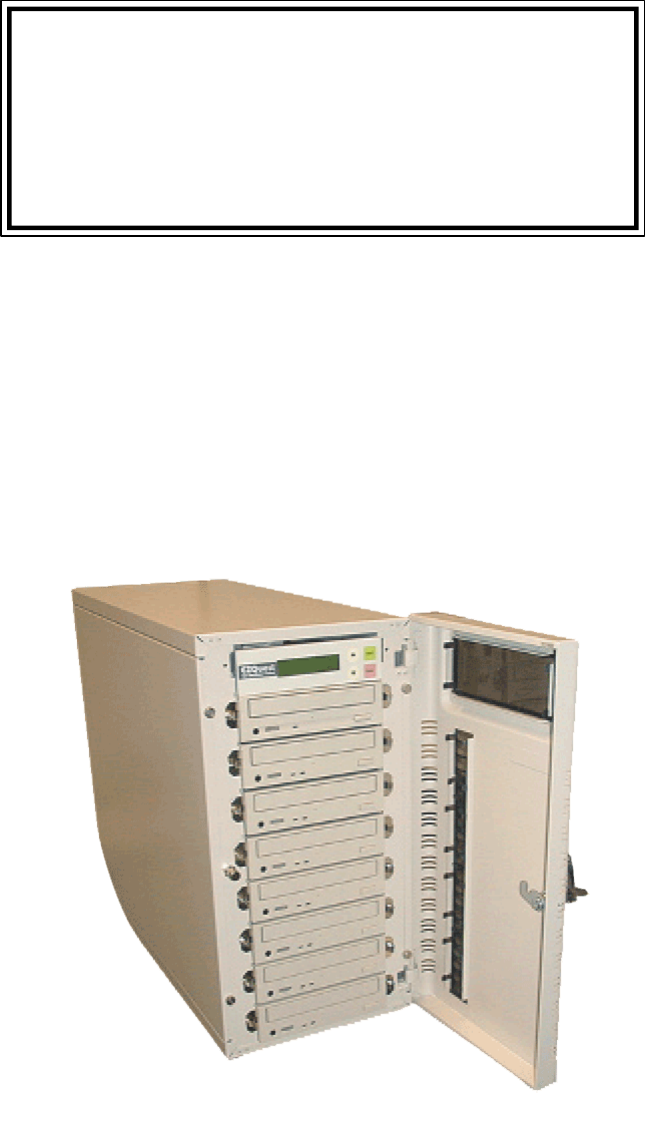
EZQuest DuplicatorsKing Boa DVD DuplicationUser's Manual
Press ENT to see the details of source 1 as shown below.Src: 01 DVD-ROMTotal: 4213.4MBPress ENT to see the details of source 2. If the compari
Press ENT to prescan. LCD will show the scanning information as follows.Scaning- DVD 0%4213.4MB 40:40When scanning finishes, and the source DVD
5.8 Select SourceFunction 8 Select Source is to let you select the data on DVD-ROM, DVD writers orHDD as the source from which copying will be done.
5.9 ImageFunction 9 Image is valid only when you have installed a hard disk. This functionincludes 6 parts. They are Load, Delete Image, Image Info,
After the image file is successfully loaded, LCD will show the results as follows.Image load OKIf there is an image file existing in the current parti
After the image file is deleted, LCD will show the results as follows.Partition A:Image is deleted5.9.3 Image InfoThis function is to show the basic
Press ENT , and LCD will show the comparison information as follows.Compare- DVD 0%4213.4MB 1:05:06When comparison comes to an end, LCD will sh
5.9.5 Select PartitionThis function is to select a partition in the hard disk. First, select the function bypressing t .9-05.Image P: ASelect Part
First, select the function by pressing t .9-06. Image P: AImage Src DriveThen, use s t to select DVD-ROM or any of the DVD writers as the sour
Select function 10.10. Edit Track5.10.1 CD to CDOn the above figure press ENT , and you will enter the following figure.Here thefunction CD to CD is
Copyright and TrademarkThe information in this manual is subject to change without prior notice and doesnot represent a commitment on the part of vend
After selecting, please use s to move to the ìEndî menu as shown below.Select Track:End 1Trk03:25Press ENT to finish the CD editing, and use s t
The system will ask if you want to keep editing. Please use s t to confirm Yes orNo. as shown below.Continue editnext Disc?YesIf you want to keep ed
Press ENT to finish the CD editing, and use s t to confirm Yes or No.End edit discand burn?YesLCD will show the copying information as follows.Copyi
On the above figure Press ENT . The system will ask if you want to close all CDsísessions. Please use s t to confirm Yes or No as shown below.Close a
Suppose we decide to select the first track, then press ENT . A ì+î will appear beside1/10 as shown below. But pressing ENT again may cancel the sele
The system will ask if you want to keep editing. Please use s t to confirm Yes orNo. as shown below.Continue editnext Disc?YesIf you want to keep edi
Then, the track as an image file will be loaded into HDD. LCD will show the loadinginformation as follows.Load- P0 -24X Edit2/10 - > 2/2When loa
When burning finishes, LCD will show the results as follows.Burn Complete !OK: 03On the above figure press ESC to enter the following figure. Now pre
If the chosen partition has contained image data, the system will ask to overwrite orkeep the data. Here please use s to overwrite.Image ExistsOverw
Use s t to select the track you want to play.Select Track:1/10 03:25After selecting and pressing ENT , LCD will show the playing information
Buttons and LCDThere are four buttons and an LCD on the panel of the copy smart plus. They aredescribed as follows.1 2 4
After pressing ENT , LCD will show the message as follows.Closing SessionPlease wait---When closing finishes, LCD will show the results as follows.C
5.11.1 LanguageOn the above figure press ENT , and you will enter the following figure. The functionLanguage lets you select a language in which mess
5.11.3 Read SpeedOn the above figure press ESC and t to enter the following figure. The functionRead Speed lets you control the reading speed of t
5.11.5 Startup MenuOn the above figure press ESC and t to enter the following figure. Startup Menulets you select any one of the functions except
5.11.7 Auto CompareOn the above figure press ESC and t to enter the following figure. Auto Compareis to compare automatically the source DVD and th
5.11.9 Eject DiscOn the above figure press ESC and t to enter the following figure. Eject Discprovides three choices. They are Eject Good Only, Ej
Press ENT to enter the following figure. The default is On. Press t to select Off.Burn On The FlyOnIf your copy smart plus doesnít connect with a ha
5.11.12 Button SoundOn the above figure press ESC and t to enter the following figure. Button Soundlets you control the sound of a button when you
Press ENT to enter the next figure.DVD-ROM DVD-1161.22Press t twice to enter the next figure.02 IDE2 MasterDVD-RW : PIONEERPress ENT to enter
5.12 Adv SetupOn the above figure press ESC to return to Function 11. Then, press ESC for 2seconds to enter Function 12 as the following figure sh
3. 4.Detect Drives1. CopyThere are 12 functions for you to use. Function 1 is Copy. You can press t to selectother functions.l Place a so
5.12.2 OverburnOn the above figure press ESC and t to enter the following figure. Overburn letsyou decide whether to copy beyond the limit of the
5.12.4 Format HDDOn the above figure press ESC and t to enter the following figure. Format HDD isto partition the hard disk. But before formatting,
Press ENT to enter the next figure. Use s t to confirm Disk or Parti.Verify Disk orPartition? DiskPress ENT to verify. After verification LCD will
Press ENT and use s t to select the time of simulation such as 1, 2, 3...1000 orRun Continuous. The figure below shows Run Continuous.Sel burn-in nu
You can get the newest firmware version from ACARD by e-mail, or download itdirectly from the web site: http://www.acard.com Then, unzip the file ìcd
Press ENT to enter the next figure. Follow the instructions on LCD to do the buttontest. After that, the system will do the self-test of SDRAM, the h
When default loading finishes, LCD will show the results as follows.Load DefaultOK5.12.11 CD+GOn the above figure press ESC and t to enter the foll
Troubleshooting6.1 About LCDAfter powering on if there is no LCD, please check if the connection of power cordis frim and the environment of power o
6.4 About ButtonsIf you press any one of the four buttons on the panel, but there is no response, it isperhaps that the button cannot function well.
6.8 About Function 12 and CancellationIf you want to execute function 12 Advanced Setup, you can press ESC for 2 seconds.And during operation if yo
Chapter 5 FunctionsThere are 12 functions: Copy, Test, Test & Copy, Verify, Compare, Prescan, DiscInfo, Select Source, Image, Edit Track, Setup
Appendix 1 List of Functions1 Copy2 Test3 Test & Copy4 Verify5 Compare6 Prescan7 Disc Info8 Select Source9 Image (It works o
11.10 Burn On The Fly (Default is On) 11.11 Burn Mode (Default is DAO) 11.12 Button Sound (Default is On) 11.13 Device Info 11.
Appendix 2 LCD Messages1. Normal Conditions:Initialize SDRAM...Initialize the memory of the system.Detect
Press a Key to Eject Good Disc... Press any ket to eject the good disc after copyingPress a Key to Eject Fail Disc...Press any key to eject the fai
Verify Hard Disk OK!... The hard disk is verified successfully.Verify Hard Disk Fail!... The
Check Sum Error!... The udpated firmware has errors.Source canít be Hard Disk!...During comparison
When copying is in progress, MB and time will decrease whereas the percentage ofcompletion increase.When copying comes to an end, LCD will show the re
LCD will show the testing information as follows.Testing- DVD 0%4213.4MB d:20:15When the test comes to an end, LCD will show the results as
When the test finishes, actual copying will begin as shown below.Copying- DVD 0%4213.4MB d:20:15When the whole process finishes, LCD will show
When verification comes to an end, LCD will show the results as follows.4.VerifyOK: 035.5 CompareFunction 5 Compare is to make a comparison between
© 2020, manymanuals.com. All rights reserved. | 0.629 s |
 Manymanuals.com
 Manymanuals.de
 Manymanuals.fr
 Manymanuals.it
 Manymanuals.pl
 Manymanuals.cz
 Manymanuals.es
 Manymanuals-pt.com
Comments to this Manuals